Swagger在线文档使用教程…
SpringBoot集成Swagger
- 新建一个SpringBoot项目==>web
- 导入相关依赖
1
2
3
4
5
6
7
8
9
10
11<dependency>
<groupId>io.springfox</groupId>
<artifactId>springfox-swagger2</artifactId>
<version>2.9.2</version>
</dependency>
<dependency>
<groupId>io.springfox</groupId>
<artifactId>springfox-swagger-ui</artifactId>
<version>2.9.2</version>
</dependency> - 编写HelloWorld
- 配置Swagger
1
2
3
4
public class SwaggerConfig {
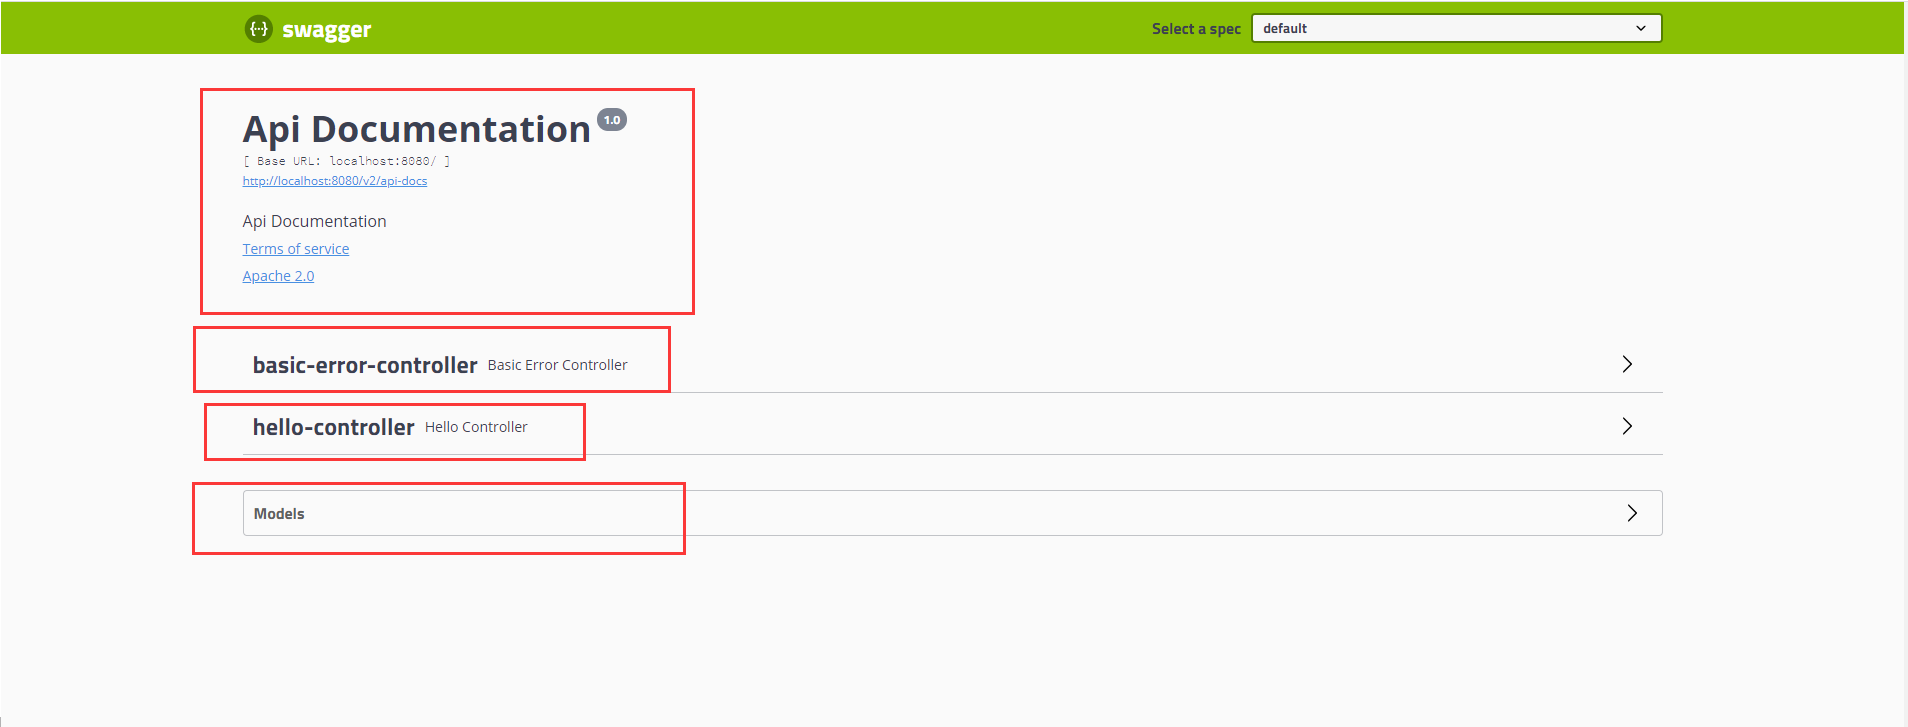
} - 测试运行 http://localhost:8080/swagger-ui.html

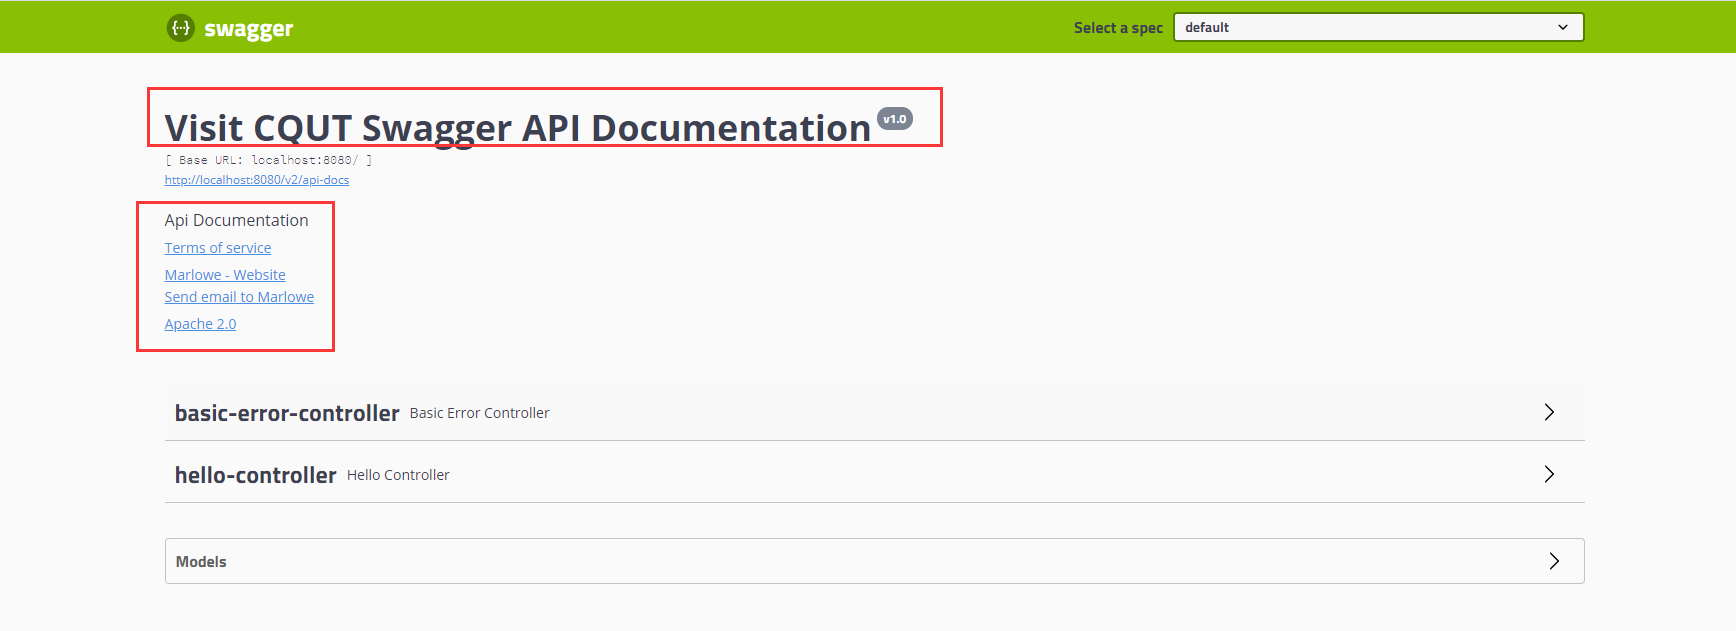
配置Swagger信息
Swagger的bean示例Docket
1 |
|

Swagger配置扫描接口
Docket.select()
1 | /** |
配置是否启动swagger
1 | /** |

我只希望我的Swagger在生产环境中使用,在发布的时候不使用?
- 判断是不是生产环境 flag = false
- 注入enable(flag)配置API文档的分组
1
2
3
4
5
6
7
8
9
10
11
12
13
14
15
16
17
18
19
20
21/**
* 配置了Swagger的Docket的bean实例
*
* @return
*/
public Docket docket(Environment environment) {
// 设置要现实的swagger环境
Profiles profiles = Profiles.of("dev", "test");
// 获取项目的环境:
boolean flag = environment.acceptsProfiles(profiles);
return new Docket(DocumentationType.SWAGGER_2)
.apiInfo(apiInfo())
// enable是否启动Swagger,如果为false,则swagger不能在浏览器中访问
.enable(flag)
.select()
.apis(RequestHandlerSelectors.basePackage("com.marlowe.swagger.controller"))
.build();
}如何配置多个分组;多个Docket实例即可1
.groupName("Marlowe")
实体类配置1
2
3
4
5
6
7
8
9
10
11
12
13
14
public Docket docket1() {
return new Docket(DocumentationType.SWAGGER_2).groupName("A");
}
public Docket docket2() {
return new Docket(DocumentationType.SWAGGER_2).groupName("B");
}
public Docket docket3() {
return new Docket(DocumentationType.SWAGGER_2).groupName("C");
}controller1
2
3
4
5
6
7
8
9
10
11
12
13
14
15
16
17
18
19package com.marlowe.swagger.pojo;
import io.swagger.annotations.ApiModel;
import io.swagger.annotations.ApiModelProperty;
/**
* @program: swagger-demo
* @description:
* @author: Marlowe
* @create: 2020-12-06 19:39
**/
public class User {
public String username;
public String password;
}总结:1
2
3
4
5
6
7
8
9
10
11
12
13
14
15
16
17
18
19
20
21
22
23
24
25
26
27
28
29
30
31
32
33
34
35
36
37
38
39
40
41
42
43package com.marlowe.swagger.controller;
import com.marlowe.swagger.pojo.User;
import io.swagger.annotations.Api;
import io.swagger.annotations.ApiOperation;
import io.swagger.annotations.ApiParam;
import org.springframework.web.bind.annotation.GetMapping;
import org.springframework.web.bind.annotation.PostMapping;
import org.springframework.web.bind.annotation.RestController;
/**
* @program: swagger-demo
* @description:
* @author: Marlowe
* @create: 2020-12-06 18:07
**/
public class HelloController {
public String hello() {
return "hello";
}
public User user() {
return new User();
}
public String hello2( String username) {
return "hello" + username;
}
public User post( User user) {
return user;
}
}
- 可以通过Swagger给一些比较难理解的属性或者接口,增加注释信息
- 接口文档实时更新
- 可以在线测试
【注意点】在正式发布的时候,关闭Swagger!!! 处于安全考虑,并且节省内存!


